 Pin It
 The idea of reinventing a fast-food classic into something keto-friendly felt like solving a delicious puzzle. I stumbled upon this concept during a summer when my husband and I were both doing low-carb and craving the comfort foods we missed. The first attempt was messy and falling apart, but that moment when we finally got the folding technique right felt like a tiny victory in the kitchen.
Last Super Bowl, I made a batch of these for friends who werent watching their carbs at all. The silence when everyone took their first bite followed by someone asking, wait, these are keto? That might be my favorite kitchen memory from last year.
Ingredients
- Unsalted butter: Use room temperature butter for the smoothest cheese sauce texture
- Cream cheese: Full-fat version creates the velvety consistency you want
- Heavy whipping cream: This thinns the sauce just right without splitting
- Shredded sharp cheddar cheese: freshly grated melts better than pre-shredded bags
- Ground beef: 80/20 ratio gives the best flavor and moisture
- Taco seasoning: Check labels carefully for hidden sugars
- Low-carb tortillas: Mission Carb Balance works beautifully here
- Sour cream: Adds that cool tangy contrast to hot beef
- Shredded lettuce: Iceberg gives the crunch romaine is a bit softer
- Medium tomato: Roma tomatoes hold up better than beefsteak
- Extra shredded cheddar cheese: Pepper jack kicks up the heat nicely
- Chopped cilantro: Fresh herb brightness cuts through all the richness
- Jalapeño slices: Optional but recommended if you like it spicy
- Olive oil: Helps achieve that golden crunch on the tortilla
Tired of Takeout? 🥡
Get 10 meals you can make faster than delivery arrives. Seriously.
One email. No spam. Unsubscribe anytime.
Instructions
- Melt the butter:
- Place your saucepan over medium heat and let the butter melt completely, swirling occasionally so it doesnt brown
- Make the base:
- Add the cream cheese and pour in the heavy cream, whisking constantly until you have a smooth, bubbling mixture
- Add the cheese:
- Stir in the shredded cheddar gradually, letting each handful melt before adding more, until you have a gorgeous, velvety sauce, then remove from heat
- Brown the beef:
- In a large skillet over medium-high heat, break apart the ground beef and cook for 5 to 7 minutes until no pink remains
- Season the meat:
- Drain any excess fat, sprinkle in the taco seasoning, and stir well to coat every crumble of beef
- Crisp the tortillas:
- Heat olive oil in a separate skillet and fry each tortilla about 1 to 2 minutes per side until golden and slightly crunchy, then drain on paper towels
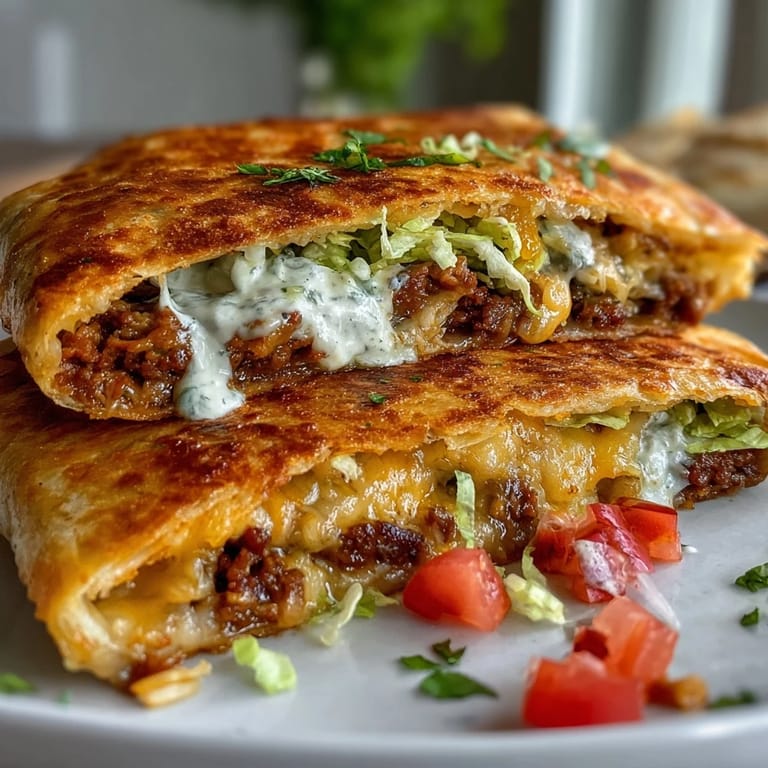
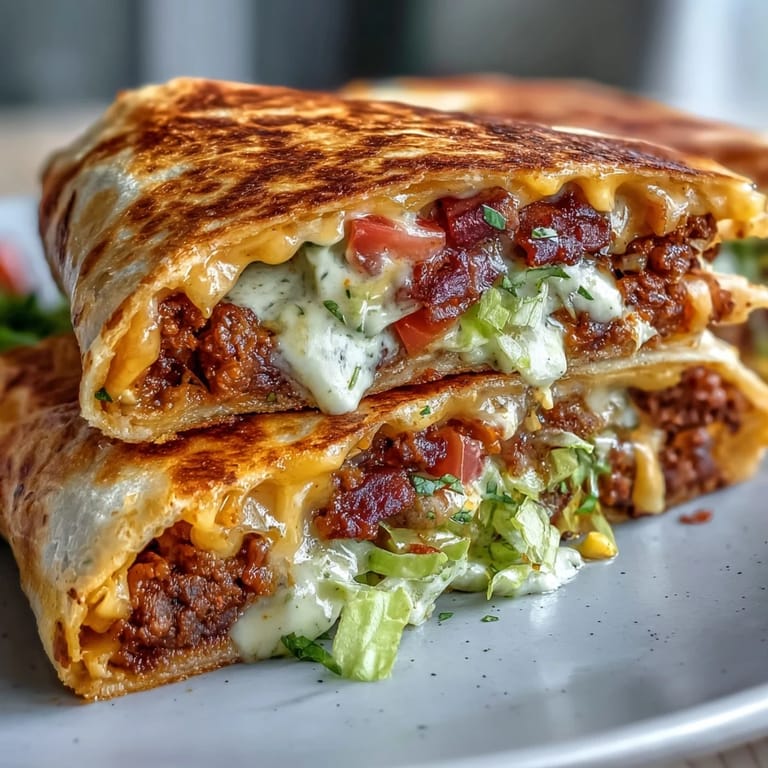
- Build your crunchwrap:
- Place a crispy tortilla flat, add beef to the center, spoon warm cheese sauce over top, then layer sour cream, lettuce, tomato, extra cheese, and cilantro
- Fold it tight:
- Working your way around, fold the tortilla edges toward the center like youre making pleats, creating that signature hexagonal shape
- Get the sear:
- Place the crunchwrap seam-side down in the hot skillet and cook 3 to 4 minutes per side until golden brown and sealed tight
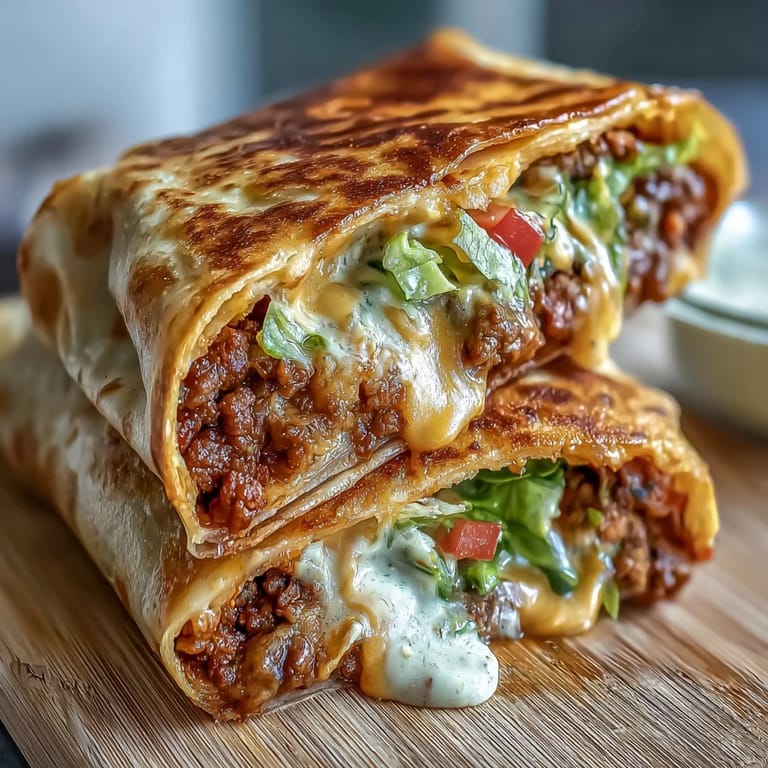
- Rest and serve:
- Let them sit for 1 minute so the fillings set, then slice in half and garnish with extra cilantro and jalapeños
 Pin It
 My daughter helped me fold these for the first time, and her determination to get that perfect hexagon shape was the sweetest thing. Now she asks for crunchwrap nights whenever friends sleep over.
Getting the Fold Right
The trick is working slowly and creating small folds rather than trying to tuck everything in at once. Think of it like folding a burrito but with more precision. A warm tortilla folds more easily than a cold one, so timing matters here.
Make-Ahead Magic
You can cook the beef and make the cheese sauce up to two days ahead. Store them separately in the fridge and reheat gently before assembling. The tortillas are best crisped right before you start building.
Serving Suggestions
These are hearty enough to stand alone as a meal, but a simple side of guacamole or sliced radishes adds freshness. A dry rosé cuts through all that rich cheese beautifully if you are drinking.
- Try a fried egg on top for breakfast
- Leftovers reheat in the oven at 350°F for 10 minutes
- Freeze assembled uncooked wraps for up to a month
 Pin It
 There is something deeply satisfying about taking a guilty pleasure and making it work for your lifestyle. Enjoy every crispy, cheesy bite.
Recipe FAQs
- → Can I make these crunchwraps ahead of time?
Yes, prepare the beef filling and cheese sauce up to 2 days in advance. Store them separately in the refrigerator. Assemble and cook just before serving for the crispest texture.
- → What tortillas work best for keto?
Mission Carb Balance tortillas or almond flour-based tortillas perform well. Look for options with 5-10 net carbs per tortilla. Ensure they're pliable enough to fold without cracking.
- → How do I prevent the filling from leaking?
Don't overfill the center—use about 1/4 cup beef per wrap. Fold edges tightly and start cooking seam-side down to seal. Place the folded side down first in the hot skillet.
- → Can I freeze assembled crunchwraps?
Assemble uncooked crunchwraps, wrap individually in plastic, then foil. Freeze up to 1 month. Thaw overnight in refrigerator before cooking according to instructions.
- → What other proteins can I use?
Ground chicken, turkey, or seasoned shredded pork work beautifully. For vegetarian options, try seasoned crumbled tempeh or a plant-based ground meat alternative with the same taco seasoning.
- → How do I get the crispest tortilla?
Fry tortillas in hot oil until just golden and slightly stiff—about 1-2 minutes per side. Don't over-crisp during this stage since they'll cook again when assembled.