 Pin It
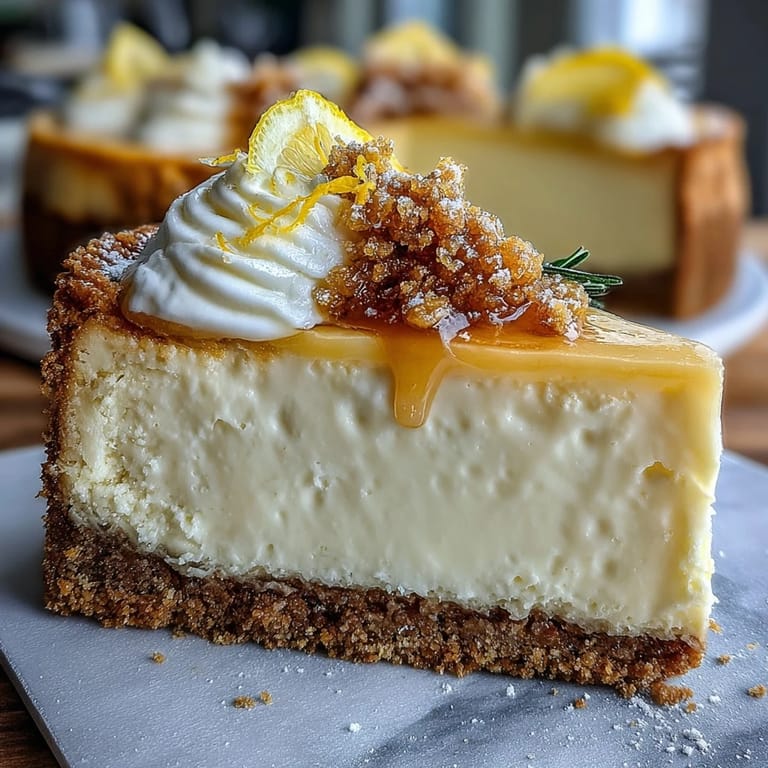
 There's something about the smell of lemon zest hitting hot butter that makes you feel like summer just walked into your kitchen, even if it's the middle of January. I discovered these limoncello cheesecake bars during a particularly gray week, scrolling through an old Italian cookbook my neighbor had lent me, and something about the brightness of it all just pulled me in. That first batch came out a little too dense—I'd overmixed like I always do when I'm excited—but the flavor was so alive, so unapologetically citrusy and creamy at once, that I knew I had to get it right. Now whenever I make them, I'm transported back to that kitchen moment, the one where my hands were sticky with zest and everything felt possible.
I made these for my sister's garden party last July, and watching people's faces when they bit into that creamy center with the buttery crust underneath—that moment when their eyes widened and they went quiet for a second—that's when I knew this recipe was special. One guest actually asked me if I'd bought them from a bakery, which sounds silly but somehow felt like the highest compliment I've ever received.
Ingredients
- Graham cracker crumbs (1 ½ cups): The foundation of everything, and honestly, quality matters here—use the real stuff with actual honey flavor, not the bland variety, because it's the backbone that holds the whole bar together.
- Granulated sugar (¼ cup for crust, ⅔ cup for filling): For the crust, don't skip this; it caramelizes slightly and adds complexity that plain buttery crumbs lack.
- Unsalted butter (6 tbsp melted): Melted, not softened—the difference is subtle but real in how it binds the crust.
- Lemon zest (from 3 lemons total): This is where you decide how bold you want to go; I always add a tiny extra pinch because the flavor needs to shine.
- Cream cheese (16 oz, softened): This must be at room temperature, and I mean actually sitting out for an hour—cold cream cheese creates lumps that no amount of beating fixes.
- Eggs (2 large): Room temperature too; think of them as your binding agent that keeps everything together without making it dense.
- Limoncello liqueur (¼ cup): The soul of the whole thing, and yes, you actually taste it—the alcohol cooks off but the bright, complex lemon essence lingers beautifully.
- Sour cream (¼ cup): This adds tang and keeps the filling from being one-note sweet; it's the secret that makes people wonder what they're tasting.
- Freshly squeezed lemon juice (1 tbsp): Fresh, not bottled—the bottled stuff has a chemical edge that ruins the delicate balance.
- Vanilla extract (1 tsp): Just a whisper to round out the flavors without announcing itself.
- All-purpose flour (2 tbsp): Keeps the filling from cracking as it cools, a lesson I learned the hard way with my third attempt.
- Salt (pinch): Makes everything taste more like itself, brighter and more intentional.
Tired of Takeout? 🥡
Get 10 meals you can make faster than delivery arrives. Seriously.
One email. No spam. Unsubscribe anytime.
Instructions
- Prep your stage:
- Preheat your oven to 325°F and line your 8x8 baking pan with parchment paper, leaving overhang on the sides so you can lift the whole thing out later—this is a game-changer for clean bars. Make sure your cream cheese is already sitting on the counter getting soft while you're doing this.
- Build the crust:
- Mix graham cracker crumbs, sugar, melted butter, and lemon zest in a bowl until it looks like wet sand, then press it firmly and evenly into the bottom of your pan. Bake for exactly 10 minutes—you want it set but not hard, still slightly golden.
- Start the filling:
- Beat your softened cream cheese until it's completely smooth and creamy, about 2 minutes of real beating, not rushed; scraping the sides as you go. This matters more than you'd think because lumpy cream cheese ruins the whole elegant texture you're going for.
- Layer in sweetness and balance:
- Add sugar to the cream cheese and beat until incorporated, then add eggs one at a time, making sure each one is fully mixed before adding the next—this keeps the filling from becoming grainy. Scrape the bowl after each egg, because that's where unmixed bits hide.
- Finish with flavor:
- Add limoncello, sour cream, fresh lemon juice, vanilla, lemon zest, flour, and salt, mixing just until combined—this is the moment I stop myself from overmixing, which was my original mistake. A smooth, homogeneous filling is what you want; overbeaten filling becomes airy and weird.
- Pour and bake:
- Pour the filling over your pre-baked crust and smooth the top gently with a spatula, then bake for 35 to 38 minutes until the center is just set but still has a tiny jiggle—it will firm up as it cools. The edges will look slightly puffed, which is exactly right; overbaking makes the whole thing taste eggy and dry.
- Cool and chill:
- Let it cool to room temperature first, which takes about an hour, then refrigerate for at least 3 hours—overnight is honestly better because everything sets properly. The long chill is what makes the texture creamy and dense instead of cakey.
- Slice and serve:
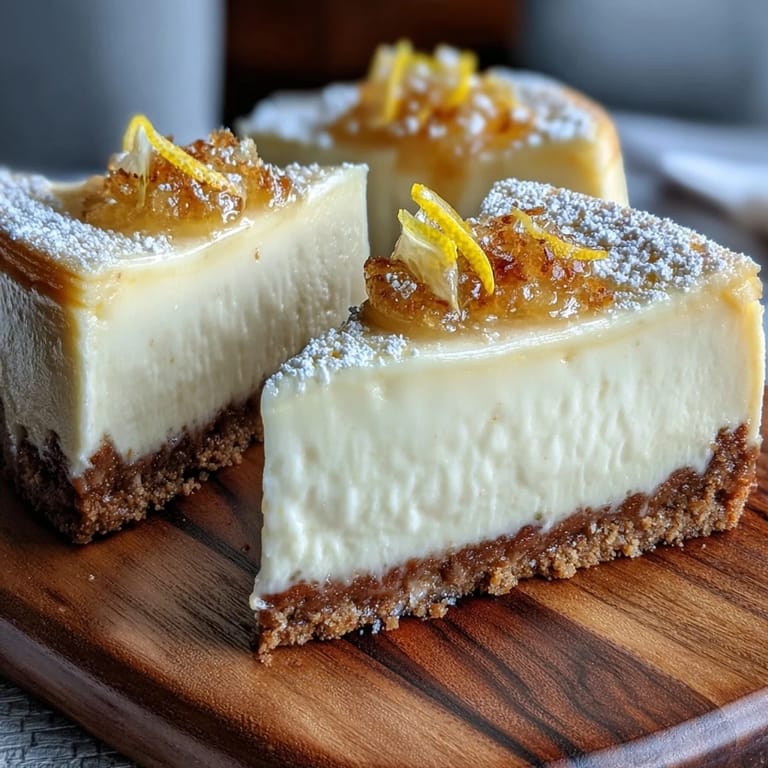
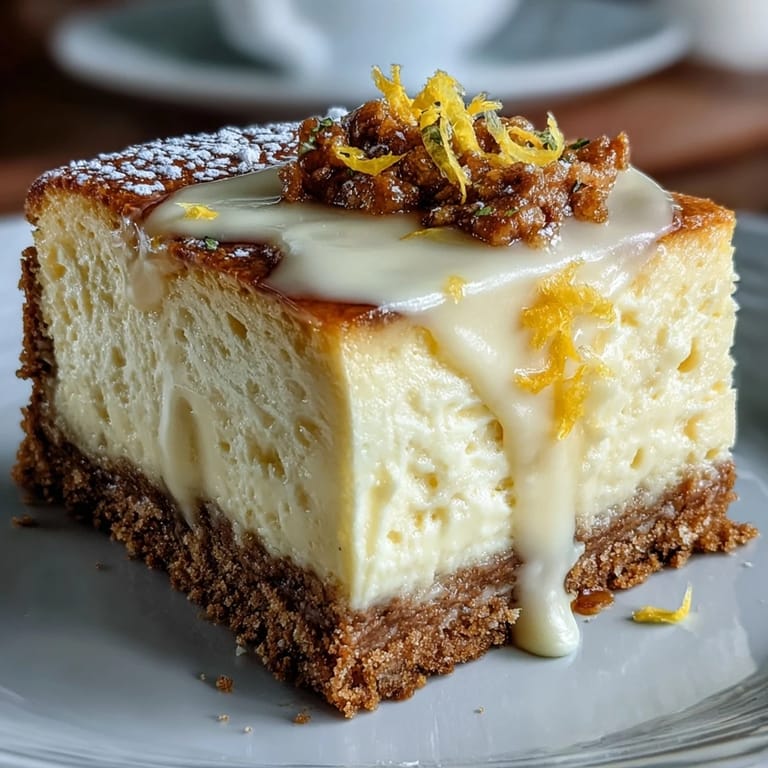
- Use the parchment overhang to lift the whole block out of the pan, then cut into 16 squares with a sharp knife, wiping between cuts so the layers stay clean. Dust with powdered sugar and add lemon zest or candied slices if you're feeling fancy.
 Pin It
 One afternoon, a friend who's usually skeptical about anything fancy tried one of these bars and got completely quiet, and then asked if she could take the rest home to her family. Seeing someone trust you with something you made, especially something that tastes this good, feels like a small kind of magic.
The Limoncello Decision
Limoncello is the ingredient that makes or breaks this whole thing, so it deserves a real moment of consideration. I used to think any bottle would do, but then I had a proper Italian limoncello at a friend's dinner party and tasted the difference—the good stuff has an almost honeyed brightness that the cheap bottles just don't capture. If you can't find quality limoncello, you can substitute with an extra 2 tablespoons of fresh lemon juice and 2 tablespoons of vodka, which mimics the brightness without the complexity, though it won't be quite the same experience.
Why the Timing Matters
Cheesecake has a rhythm to it, and respecting that rhythm is what separates stressed baking from peaceful baking. I used to rush the cooling and chilling steps, thinking I could speed things up, but then I'd cut into bars that weren't properly set and the whole thing would be a disaster. Now I treat the chill time like it's part of the recipe, not an afterthought—the filling needs time to contract slightly as it cools, which gives you that perfect density and prevents cracks from forming on the surface.
Variations Worth Trying
Once you master the basic version, this recipe is forgiving enough to play with—I've added a layer of lemon curd between the crust and filling, which creates this beautiful tanginess, and I've also made a version with a white chocolate drizzle that was absolutely decadent. The core technique stays the same; you're just playing with flavors around the edges, which means there's room to experiment without starting from scratch.
- Try adding a thin layer of lemon curd on top of the pre-baked crust before pouring the filling for extra brightness and visual appeal.
- White chocolate shavings or a thin white chocolate ganache drizzled over the cooled bars add richness without overwhelming the lemon flavor.
- Make them gluten-free by using gluten-free graham crackers and gluten-free flour, and honestly, nobody will know the difference.
 Pin It
 These bars have a way of becoming the dessert people request, the one they remember, the one that makes them feel like summer in a bite. Make them once and you'll understand why.
Recipe FAQs
- → How do I achieve a smooth cheesecake layer?
Ensure the cream cheese is at room temperature before mixing to avoid lumps and whip it until creamy before combining with other ingredients.
- → Can I make the crust gluten-free?
Yes, substitute regular graham crackers with gluten-free alternatives and use gluten-free flour to keep the crust crisp and safe for gluten-free diets.
- → What’s the best way to prevent cracking?
Avoid overbaking; bake until just set and slightly puffed at the edges, then let the bars cool fully and chill thoroughly to maintain a smooth surface.
- → How long should the bars be chilled?
Refrigerate for at least 3 hours, preferably overnight, to ensure the filling is firm and flavors meld beautifully.
- → Can I prepare these bars in advance?
Yes, bars can be stored in an airtight container in the refrigerator for up to 5 days without losing texture or flavor.