 Pin It
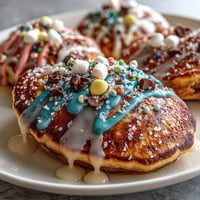
 My sister's graduation party was coming up fast, and I was standing in my kitchen wondering how to make something that felt special without spending the whole day baking. That's when it hit me—why make one dessert when you could make a whole edible celebration? A dessert board became my answer, and watching guests' faces light up when they walked into the room and saw this explosion of color and treats made it instantly worth the effort.
I'll never forget my cousin sneaking over to the dessert board before anyone else arrived, quietly filling a small plate while thinking no one was watching. By the time the party started, half the macarons were gone, but instead of being upset, I laughed—it meant my board design had actually worked. That moment taught me that a good dessert board isn't just about presentation; it's about making people excited enough to want seconds.
Ingredients
- Mini Brownies (12 pieces): These anchor your board with richness and depth; buy them from a local bakery if you can, as they tend to have better texture than mass-produced versions.
- Mini Lemon Bars (12 pieces): The tartness cuts through sweetness and gives guests a palate cleanser option between heavier treats.
- Chocolate Truffles (12 pieces): Choose quality ones if your budget allows—they feel luxurious and melt beautifully on the tongue.
- Mini Fruit Tarts (12 pieces): These add elegance and showcase fresh fruit, making the board feel less one-note.
- Sheet Cake, sliced thin (12 slices): Pick your favorite flavor; vanilla and funfetti are crowd-pleasers, but chocolate works beautifully too.
- Strawberries, halved (1 cup): They're visually stunning and taste fresh, which balances all the rich chocolate and pastry on the board.
- Blueberries (1 cup): These roll into gaps naturally and add pops of deep color between other treats.
- Raspberries (1 cup): Their delicate shape and bright red hue make them excellent for filling visual gaps.
- Seedless Grapes (1 cup): These provide a textural contrast and feel refreshing when eaten alongside chocolate.
- Macarons (1/2 cup): Buy these in gradient colors—pastels work best—and let them be your board's jewelry.
- Mini Meringues (1/2 cup): They're light, airy, and white meringues create visual contrast without adding heaviness.
- Chocolate-Covered Pretzels (1/2 cup): The salty-sweet combination keeps people coming back, and they add textural variety.
- Edible Flowers (optional): Use pansies or violas sparingly; they're more about making the board Instagram-worthy than adding flavor.
- Fresh Mint Sprigs: A few scattered green sprigs tie the whole arrangement together and add a subtle freshness.
Tired of Takeout? 🥡
Get 10 meals you can make faster than delivery arrives. Seriously.
One email. No spam. Unsubscribe anytime.
Instructions
- Choose Your Base:
- Pick a large wooden board, ceramic platter, or even a clean marble slab—the sturdier and flatter, the better for holding weight without tipping. A 16-by-20-inch surface works perfectly for serving 12 people.
- Slice and Position Your Cake:
- Cut your sheet cake into 12 thin, even slices and arrange them in a semi-circle or gentle fan on one side of the board; this creates an anchor point for everything else and looks intentional. Leave space between slices so they don't look crowded.
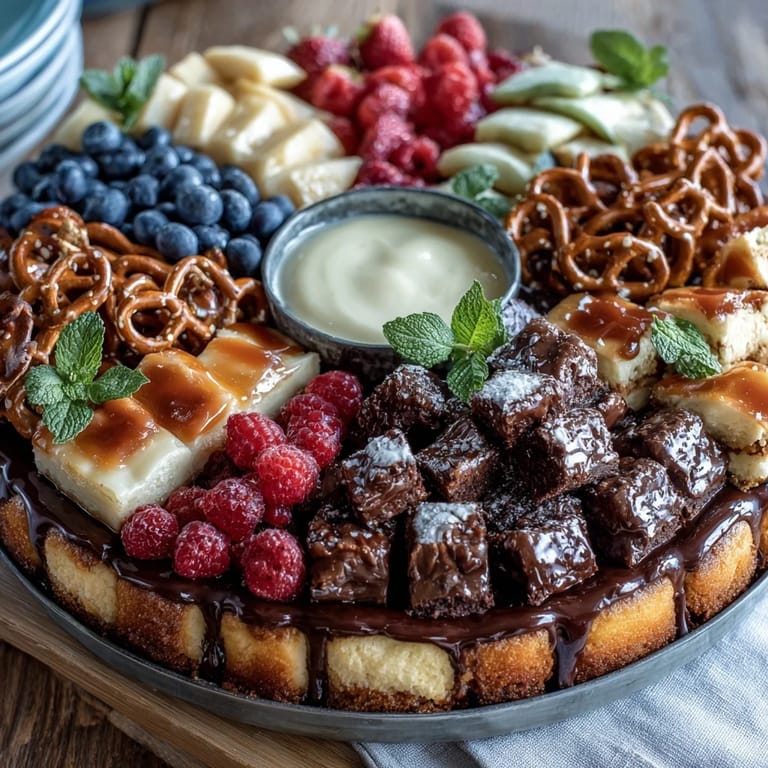
- Cluster Your Mini Treats:
- Group the brownies, lemon bars, truffles, and fruit tarts in small piles around the cake, mixing shapes and colors as you go. Think of it like painting—you want warm tones next to cool ones, and bumpy textures next to smooth ones.
- Fill with Fresh Fruit:
- Scatter handfuls of berries and grapes into the remaining gaps, letting them nestle naturally between the baked goods. Don't overthink this part; nature's chaos looks better than perfect rows.
- Add the Finer Details:
- Sprinkle macarons, meringues, and chocolate-covered pretzels across the board wherever you see empty spaces, creating pockets of color and texture. These smaller items fill visual gaps without making the board feel cluttered.
- Garnish with Greenery and Flowers:
- Tuck fresh mint sprigs into a few spots and scatter edible flowers (if using) lightly across the surface—they should feel like accents, not the main event. Step back and look at the whole board; if one corner feels heavy and another feels sparse, adjust accordingly.
- Chill or Serve:
- If you've made this ahead, cover it loosely with plastic wrap and refrigerate until 20 minutes before the party, then remove it to let treats return to their best temperature. Arrange small serving spoons or tongs nearby so guests can help themselves without using their hands.
 Pin It
 One of my friends brought her grandmother to my sister's party, and watching this 85-year-old woman slowly work her way around the dessert board, tasting everything once and savoring each bite, made me realize this wasn't just about feeding people—it was about creating a moment where everyone felt celebrated. She ended at the lemon bars and told me they reminded her of ones her mother made in the 1950s, and suddenly dessert became a bridge between generations.
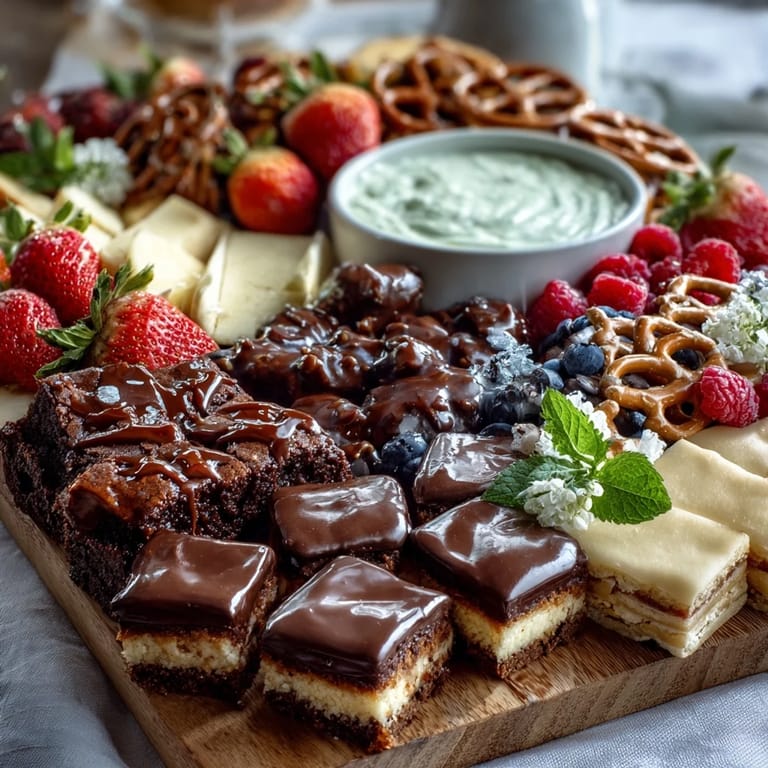
The Beauty of Color and Balance
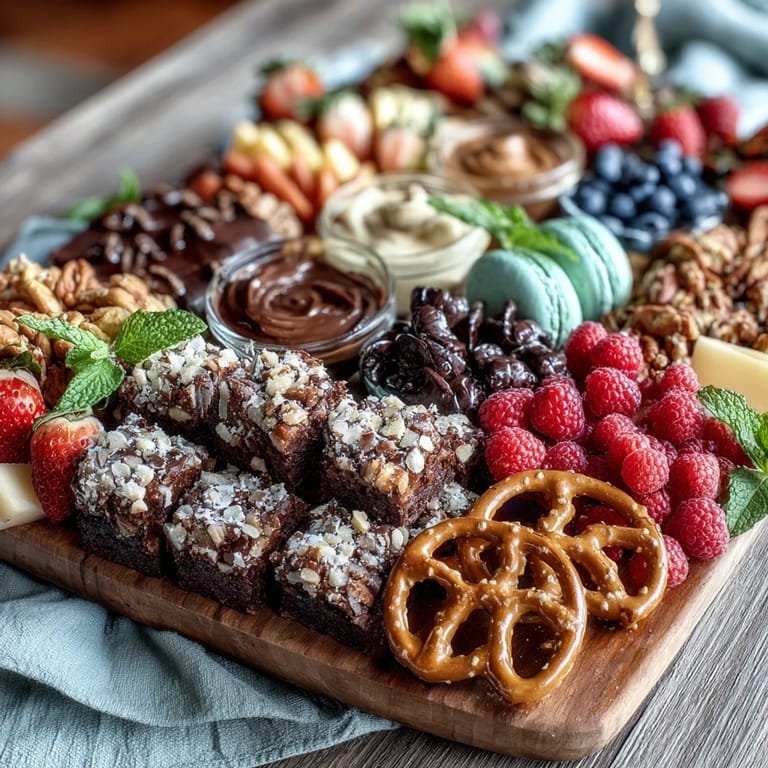
The secret to a stunning dessert board isn't having the fanciest items—it's about how you balance color and texture. I learned this the hard way my first time when I used all dark chocolates and brown-toned items; the board looked muddy and uninviting. Once I started thinking about it like an artist's palette, layering reds and pinks from fruit against pastels from macarons and whites from meringues, everything suddenly came alive. The board became something people wanted to photograph, which meant they wanted to eat from it.
Timing and Preparation
Prep timing is flexible enough that you can build this board the morning of a party, but there's a trick I've learned: arrange everything except the fresh fruit the night before, cover it, and refrigerate it. This lets you sleep in and only spend 10 minutes on the day of adding berries and mint, which stay fresher when added closer to serving time. I've also found that shopping two days before works better than the morning of, because local bakeries sometimes run out of their mini treats by afternoon.
Making It Work for Different Diets and Preferences
The beauty of a board is that you can customize it without anyone feeling left out. My friend with a gluten allergy was thrilled because she could grab the fruit, macarons, and truffles while everyone else enjoyed the cake and brownies—nobody had to feel awkward about dietary restrictions. If you're serving a group with mixed preferences, just make sure your mini treats represent different flavor profiles: something fruity, something chocolatey, something tangy, and something nutty or crunchy.
- Buy or bake a small gluten-free sheet cake and place it on a separate corner if you're serving celiacs or gluten-sensitive guests.
- Always ask about nut allergies before adding those chocolate-covered pretzels or truffle clusters, since they're common allergen carriers.
- Fresh fruit is naturally accommodating to most dietary restrictions, so never skimp on the berries and grapes.
 Pin It
 What started as a shortcut to avoid baking an elaborate cake turned into my go-to move for any celebration where I want to feel generous and creative without spending the whole day in the kitchen. This board has become such a fixture at parties that friends now text asking if I'm bringing my dessert board—and that's when I know I've created something worth repeating.
Recipe FAQs
- → What are some good mini treats to include on the board?
Mini brownies, lemon bars, chocolate truffles, and fruit tarts provide a nice range of flavors and textures for an appealing assortment.
- → How should the cake be prepared for the board?
Use a small sheet cake in vanilla, chocolate, or funfetti flavor, sliced thinly into 12 pieces and arranged attractively on the board.
- → What fresh fruits work best for garnish?
Strawberries, blueberries, raspberries, and seedless grapes add bright color and freshness that complement the treats.
- → Can this dessert board be made gluten-free?
Yes, by selecting gluten-free cakes and mini treats, you can adapt the board to suit gluten-free diets without compromising variety.
- → How to add festive touches to the board?
Incorporate edible flowers, sprigs of fresh mint, and colorful extras like macarons, mini meringues, and chocolate-covered pretzels for visual flair.
- → What tools are needed to assemble the board?
A large wooden board or platter, a sharp knife for slicing cake, and small serving tongs or spoons help with easy setup and serving.