 Pin It
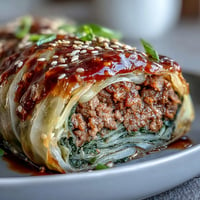
 The first time I brought this to a dinner party, my friend thought it was some fancy restaurant centerpiece until I cut into it and that molten cheese started bubbling out. I stumbled across the concept when I had way too much cauliflower from my CSA box and wanted something more exciting than the usual roasted florets. Now it is my go-to when I need to make vegetarians feel genuinely indulged at a meat-heavy table.
I made this last Christmas instead of a ham, and my meat-loving uncle actually went back for seconds. Something about the way the sharp cheddar and smoked paprika work together makes it feel so much more substantial than your average vegetable side. The kitchen smelled incredible while it was roasting, like nutmeg and toasting breadcrumbs and butter all mingling together.
Ingredients
- Cauliflower: A whole head is essential here, the way it roasts intact creates this meaty texture that totally transforms how people think about cauliflower
- Olive oil, salt, black pepper: Simple seasoning that lets the cauliflower shine while it gets all golden and caramelized in the oven
- Cream cheese: The backbone of that creamy filling, softened to room temp so it blends into everything beautifully
- Shredded mozzarella: This is what gives you those gorgeous cheese pulls when you slice into the finished cauliflower
- Grated Parmesan: Adds this salty, nutty depth that cuts through all the rich cream cheese
- Fresh chives: Their mild onion flavor brightens up all that heavy cheese, plus they add these beautiful green specks throughout the filling
- Garlic clove: One clove is perfect, not overwhelming but enough to make the filling taste properly savory
- Smoked paprika: This is the secret ingredient that gives the whole dish this subtle smoky undertone
- Ground nutmeg: Just a pinch warms up the cheese filling and makes it taste somehow more sophisticated
- Milk: Just enough to loosen the filling so you can actually work it into all those tight cauliflower crevices
- Shredded cheddar cheese: Forms this incredible golden crust on top that gets slightly crispy and utterly irresistible
- Breadcrumbs: They create this textured topping that contrasts beautifully with the tender cauliflower underneath
- Melted butter: Tossing the breadcrumbs in butter helps them turn this gorgeous golden brown and keeps them from drying out
Tired of Takeout? 🥡
Get 10 meals you can make faster than delivery arrives. Seriously.
One email. No spam. Unsubscribe anytime.
Instructions
- Get your oven ready:
- Preheat to 200°C (400°F) and line a baking tray with parchment paper so cleanup is effortless later
- Prep the cauliflower:
- Pull off those outer leaves and carefully trim the base so it sits flat, but be gentle to keep all the florets attached
- Blanch the cauliflower:
- Boil a large pot of salted water and submerge the whole head for about 8 to 10 minutes until it is just tender, then drain well
- Make the cheese filling:
- Mix together the cream cheese, mozzarella, Parmesan, chives, garlic, smoked paprika, nutmeg, and milk until you have this smooth, creamy mixture
- Create space for the filling:
- Once the cauliflower has cooled slightly, use a small knife to carefully cut into the base and between florets, making little pockets everywhere
- Stuff it generously:
- Really work that cheese mixture into all the crevices and center, using a spoon or your fingers to press it in deep
- Season the exterior:
- Brush the whole outside with olive oil and sprinkle with salt and pepper to enhance that roasted flavor
- Add the crispy topping:
- Mix the cheddar with breadcrumbs and melted butter, then scatter it evenly over the top
- Rast until golden:
- Bake for 40 to 45 minutes until the cauliflower is tender, the cheese is bubbling, and everything has turned this gorgeous golden brown
- Let it rest briefly:
- Wait about 5 minutes before slicing into wedges so the cheese has a moment to set up slightly
 Pin It
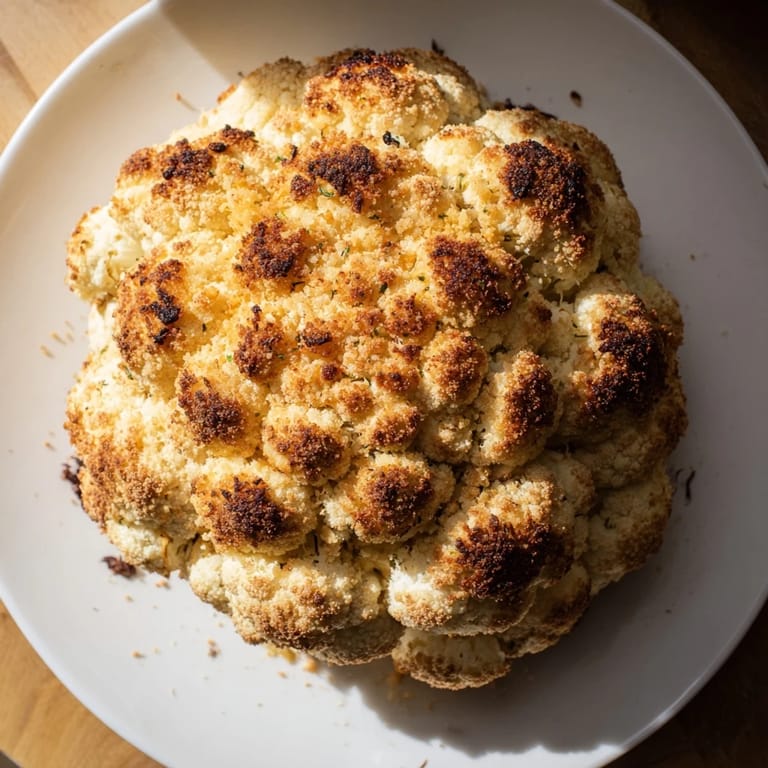
 My roommate walked in while this was in the oven and immediately asked what smelled so incredible, then proceeded to hover around the kitchen until it came out. There is something so satisfying about cutting through that crispy cheese crust into the tender cauliflower underneath. It has become this thing I make when I want to show someone that vegetarian food can be every bit as indulgent and impressive as anything else.
Making It Ahead
You can absolutely blanch the cauliflower and make the cheese filling a day in advance, then just stuff and bake when you are ready to serve. I have done this for dinner parties and it takes so much pressure off the last-minute rush.
Serving Suggestions
I love serving this with a bright arugula salad dressed with lemon vinaigrette to cut through all that rich cheese. roasted carrots or Brussels sprouts on the side make it feel like a complete, hearty meal that nobody will miss the meat in.
Customization Ideas
Sometimes I add chopped sun-dried tomatoes to the cheese filling for this sweet, tangy contrast that works beautifully with the smoked paprika. You could also stir in some sautéed mushrooms or spinach if you want to sneak in extra vegetables.
- Try swapping fresh herbs like parsley or dill for the chives when you want a different flavor profile
- For extra protein, mix some crumbled cooked bacon or pancetta into the topping
- If you love heat, add a pinch of red pepper flakes to the cheese filling
 Pin It
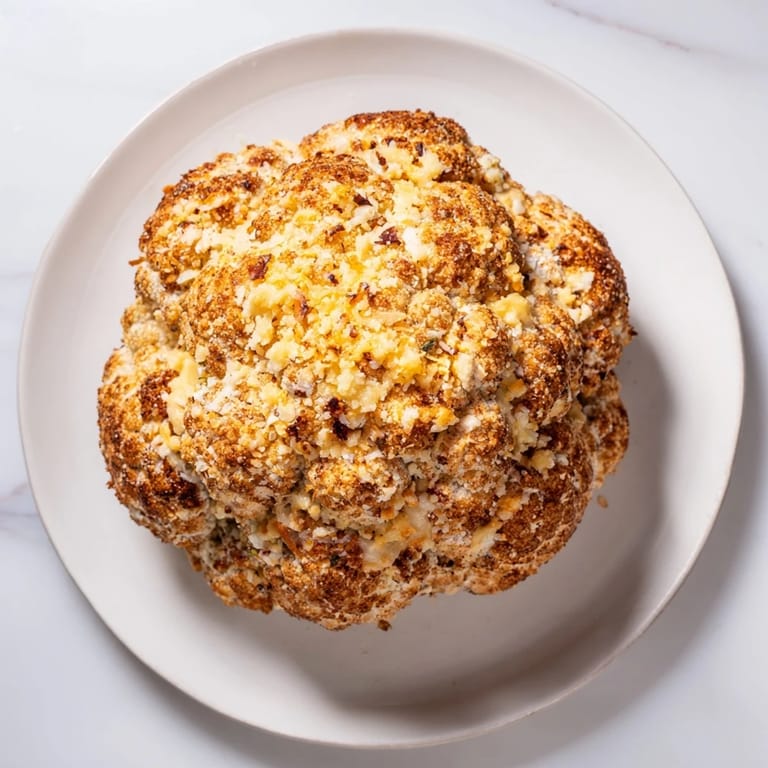
 There is nothing quite like pulling this golden, bubbling cauliflower out of the oven and watching everyone lean in closer. Pure comfort food that happens to look absolutely stunning on the table.
Recipe FAQs
- → Can I prepare the stuffed cauliflower ahead of time?
Yes, you can fill the cauliflower up to 4 hours ahead and refrigerate it covered. Add an extra 10-15 minutes to the roasting time if baking from cold.
- → How do I know when the cauliflower is done cooking?
The cauliflower is ready when the top is golden brown, the cheese filling is bubbling at the edges, and a knife pierces the base easily. This typically takes 40-45 minutes at 200°C.
- → What can I add to the cheese filling for more flavor?
Sun-dried tomatoes, sautéed mushrooms, caramelized onions, or crispy bacon bits work wonderfully. Fresh herbs like dill, parsley, or thyme complement the filling beautifully.
- → Is this dish truly gluten-free?
Yes, as long as you use gluten-free breadcrumbs for the topping. The other ingredients are naturally gluten-free. Always verify individual ingredient labels if cooking for those with celiac disease or gluten sensitivity.
- → Can I make this with a cauliflower that's already cut?
A whole head is ideal for presentation and staying intact during cooking. Cut cauliflower can work but won't have the same dramatic presentation. You'd need to arrange florets together and the cooking time may decrease.
- → What are good side dishes to serve with this?
A crisp green salad with lemon vinaigrette, roasted root vegetables, or steamed green beans pair nicely. The richness of the cheese filling balances well with light, fresh accompaniments.