 Pin It
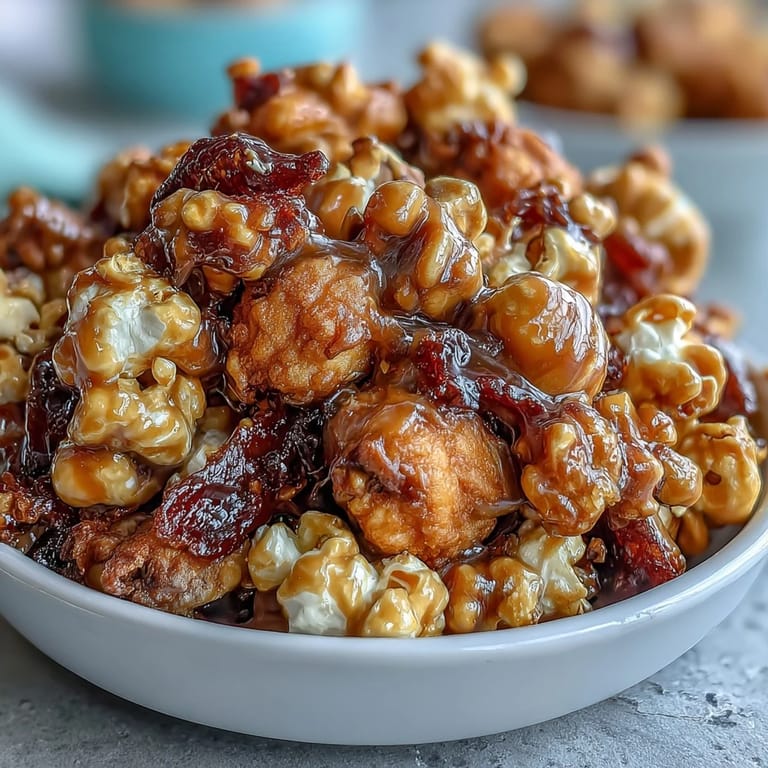
 There's something about the smell of caramel hitting hot popcorn that instantly transports you to a baseball stadium, even if you're standing in your kitchen in sweatpants. My neighbor knocked on my door one April afternoon asking if I wanted to come over for a game, and I panicked because I had nothing to bring. That's when I remembered my grandmother's trick of coating popcorn in homemade caramel, and I decided to elevate it with peanuts and a little extra salt. Twenty minutes later, I showed up with a bag of this golden, crunchy mix, and it disappeared faster than the home team scored runs. Now whenever someone asks what I'm bringing to a gathering, this is the first thing I think of.
I made a massive batch for my son's little league team once, and watching those kids' faces light up when they tasted it was pure magic. One kid actually said it was better than the concession stand popcorn, and suddenly I was the parent everyone wanted at events. The funny part is that I almost didn't make it that day because I thought homemade caramel was too complicated, but it turns out it's just butter, sugar, and a little patience.
Ingredients
- Freshly popped popcorn (10 cups): Pop it yourself if you can, because that warm, fluffy texture is what makes this snack special, and the freshness really matters when you're coating it with caramel.
- Roasted, salted peanuts (1 cup): The saltiness of these peanuts is your secret weapon against the sweetness of the caramel, so don't skip the salted variety or your mix will taste one-dimensional.
- Light brown sugar (1 cup, packed): Brown sugar gives the caramel a deeper, more complex flavor than white sugar ever could.
- Unsalted butter (1/4 cup): This is why you use unsalted butter here, because you're adding salt separately and you want control over the final flavor.
- Light corn syrup (1/4 cup): This prevents crystallization and keeps your caramel smooth and glossy, which is non-negotiable if you want that professional look.
- Kosher salt (1/2 teaspoon): Kosher salt dissolves more evenly than table salt, and its larger crystals give you better distribution throughout the mix.
- Baking soda (1/4 teaspoon): This is the ingredient that makes the caramel foam up and creates those tiny air pockets that give the finished snack its incredible texture.
- Pure vanilla extract (1/2 teaspoon): Pure vanilla is worth the extra cost here because the flavor difference is noticeable in something this simple.
Tired of Takeout? 🥡
Get 10 meals you can make faster than delivery arrives. Seriously.
One email. No spam. Unsubscribe anytime.
Instructions
- Set the stage:
- Preheat your oven to 250°F and line a large baking sheet with parchment paper, because you want everything ready before you start cooking the caramel. Combine your popcorn and peanuts in a big bowl so they're sitting there waiting for their caramel bath.
- Cook the caramel base:
- In a medium saucepan, combine brown sugar, butter, corn syrup, and salt over medium heat, stirring frequently until the mixture reaches a gentle boil. Listen for the rhythm of your stirring and watch for the moment when it stops feeling gritty and starts looking glossy, which means the sugar is fully dissolved.
- Let it bubble:
- Once it's boiling, stop stirring and let it bubble undisturbed for four to five minutes—I know it's hard to resist, but this is when the magic happens. Your kitchen will smell absolutely incredible, and you'll be tempted to taste it, but resist because liquid caramel will burn your mouth instantly.
- Finish the caramel:
- Remove the saucepan from heat and immediately stir in the baking soda and vanilla extract, watching it foam up like a delicious volcano. This foam is exactly what you want, so don't be alarmed by the dramatic reaction.
- Coat everything:
- Pour the hot caramel over your waiting popcorn and peanuts, then use two spatulas or wooden spoons to toss everything together quickly and evenly. Work fast here because the caramel will start to set, but don't panic if it's not perfectly coated at this stage.
- Spread and bake:
- Spread the mixture in a single layer on your prepared baking sheet, then slide it into the oven for forty-five minutes, stirring every fifteen minutes to keep everything coated and prevent sticking. Those stirring intervals might seem annoying, but they're what transforms this from clumpy to golden and delicious.
- Cool completely:
- Remove from the oven and let it sit at room temperature until it's completely cool, which is when it'll develop that satisfying crunch. Breaking it into clusters before serving makes it feel more intentional and special.
 Pin It
 My daughter once made this for a school bake sale, and instead of keeping it simple, she added crushed pretzels to her batch. It sold out first, and she learned that sometimes the best recipes are the ones you feel brave enough to put your own spin on. That's when I realized this snack mix isn't just food, it's permission to experiment and make something that tastes like you.
The Science of Sticky and Crunchy
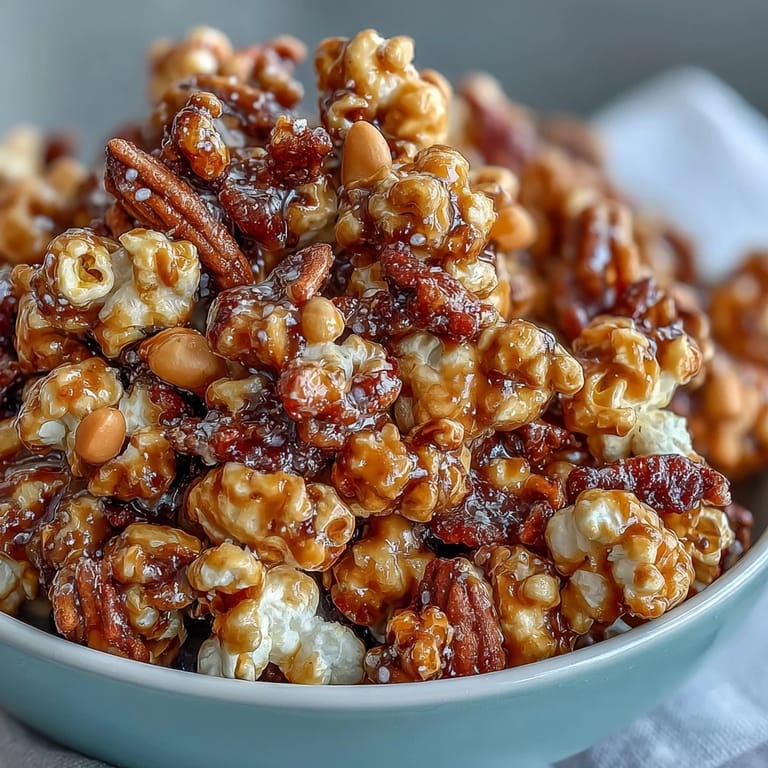
The reason this snack mix works so well is that you're layering different textures and temperatures that all come together in the oven. The caramel coating starts soft and chewy right out of the saucepan, but as it bakes low and slow, the moisture evaporates and it hardens into that satisfying crunch that makes this snack so addictive. The baking soda is crucial because it creates tiny air pockets in the caramel itself, which means you're not just biting through a dense shell of sugar, you're getting something with actual texture and dimension.
Flavor Pairing That Works
The magic of this recipe lives in the balance between sweet and salty, and if you mess with that ratio you lose the entire point. I once tried making it with unsalted peanuts because that's what I had on hand, and I ended up adding extra salt to compensate, which then made the whole thing too salty. The key is respecting each ingredient for what it brings to the party, and understanding that the saltiness of the peanuts is doing half the work of making this snack memorable.
Storage and Serving Secrets
Once this snack mix is completely cool and broken into clusters, store it in an airtight container where it'll stay crispy for up to a week. If you live somewhere humid, add a small piece of parchment paper between layers to prevent sticking, and consider adding a silica gel packet to keep moisture out. Here's my final thoughts on getting the most out of this recipe:
- Make it on a dry day if possible, because humidity is the enemy of crispy caramel snacks.
- Let people know there are peanuts in this before they eat it, because allergies are serious and your snack shouldn't be a surprise attack.
- Double the batch if you're bringing it anywhere because it'll disappear faster than you expect.
 Pin It
 This snack mix has become my go-to for everything from baseball games to office parties to late-night movie marathons, and it never fails to make people happy. There's something about homemade caramel popcorn that feels both fancy and comforting at the same time, and that's a rare combination worth holding onto.
Recipe FAQs
- → Can I substitute peanuts with other nuts?
Yes, almonds or cashews can be used for a different nutty flavor, though it will slightly alter the taste and texture.
- → How do I store this snack mix to keep it fresh?
Store in an airtight container at room temperature to maintain crunchiness, ideally consumed within a week.
- → Is there a way to make it dairy-free?
Use plant-based butter instead of unsalted butter to keep the caramel coating dairy-free.
- → Can I add other mix-ins after baking?
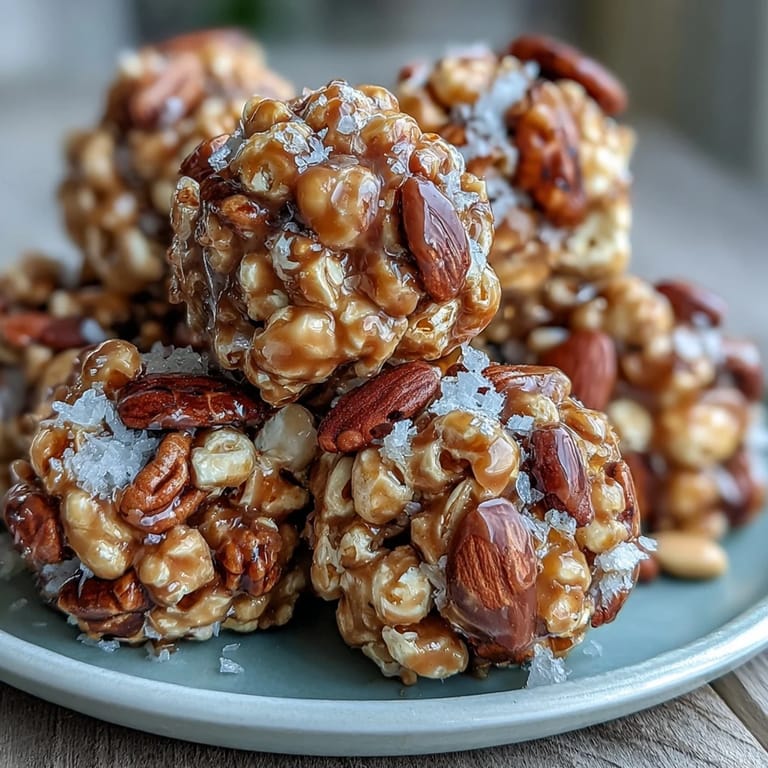
Yes, mini pretzels or chocolate candies can be folded in once the mix has cooled for extra crunch or sweetness.
- → What’s the best method to ensure even caramel coating?
Toss the popcorn and peanuts with hot caramel quickly using two spatulas before spreading them evenly on a baking sheet for baking and intermittent stirring.