 Pin It
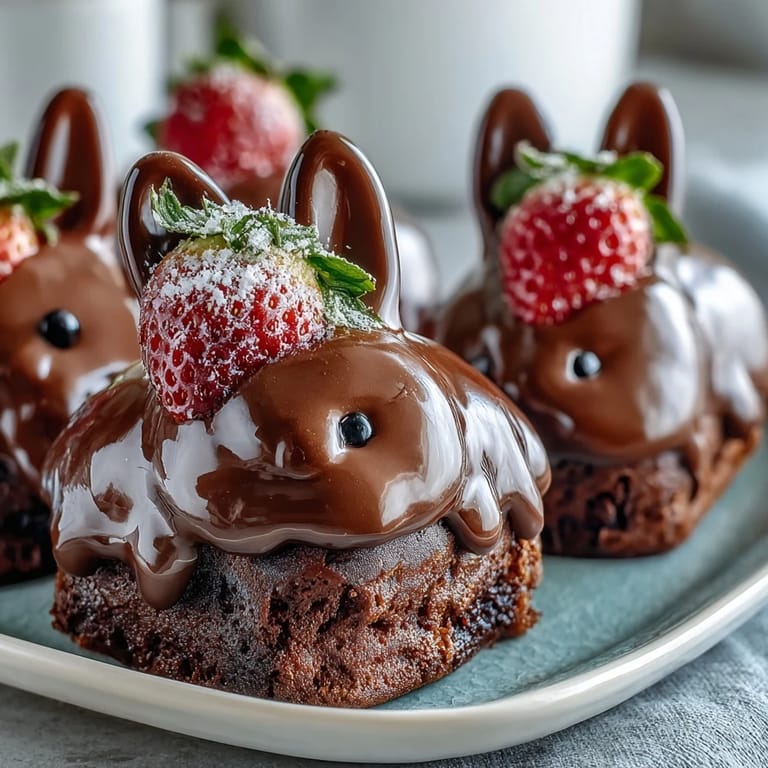
 My daughter burst into the kitchen last April with a magazine clipping of these strawberry bunnies, convinced they were the only acceptable Easter dessert. I'd never attempted anything quite so whimsical before, but watching her eyes light up as I dipped that first strawberry into white chocolate felt like stepping into her world of pure springtime magic. What started as her request became our tradition, and now every Easter, we gather to transform simple berries into these charming little creatures together.
I'll never forget the year our neighbor stopped by mid-decoration and asked if we were making edible art or actual food. That comment made us laugh so hard we nearly dropped a strawberry, and it stuck with us—because honestly, these bunnies blur that beautiful line between something too pretty to eat and something you absolutely must devour immediately.
Ingredients
- Large fresh strawberries: Pick ones that are firm and roughly the same size so they dip evenly and look uniform once decorated—wonky bunnies have charm, but symmetrical ones photograph better.
- White chocolate: Chop it yourself rather than using chocolate chips if you can; the melting is smoother and more forgiving, and the coating clings to the berries more beautifully.
- Dark chocolate: This is your magic ingredient for drizzles and whiskers, adding contrast and a subtle bittersweet note that prevents the whole thing from feeling saccharine.
- Mini marshmallows: Fresh ones work best, as they're easier to halve and shape without crumbling apart into powdery frustration.
- Candy eyes or mini chocolate chips: Candy eyes feel more professional and cute, but chocolate chips are the honest choice if you're working with what's in your pantry.
- Edible pink food gel or pink candy melts: The gel gives finer control and dries quickly, but melts are more forgiving if you're worried about precision.
Tired of Takeout? 🥡
Get 10 meals you can make faster than delivery arrives. Seriously.
One email. No spam. Unsubscribe anytime.
Instructions
- Prepare Your Stage:
- Line a baking sheet with parchment paper and wash your strawberries thoroughly, patting them completely dry with paper towels. Any lingering moisture will cause the chocolate coating to slip right off, so take that extra minute to really dry them well.
- Melt That White Chocolate:
- Use a double boiler and stir constantly, or microwave in 30-second bursts if that feels safer to you. The moment it's smooth and glossy, you're ready—don't overheat it or it becomes grainy and temperamental.
- Dip with Confidence:
- Hold each strawberry by the leafy top and swirl it into the melted white chocolate, turning slowly so the coating hugs every curve. Set it point-down on your parchment and move on; if you fidget with it, the coating will drip unevenly.
- Add Ears While Still Soft:
- Cut each mini marshmallow in half lengthwise and press two halves into the top of each coated strawberry before the chocolate sets. They'll stick naturally to the soft chocolate, and if one feels wobbly, a tiny dab of melted chocolate as glue solves it.
- Paint On the Details:
- Use a clean toothpick dipped in pink food gel to add dots to the center of each marshmallow ear and a small dot for the nose. Work quickly but gently, treating each bunny as though you're giving it a tiny face.
- Set the Eyes:
- Press your chosen eyes or chocolate chips into the white chocolate where a bunny's gaze would be, positioned slightly above the nose. Two bright points make all the difference between a cute treat and an adorable one.
- Drizzle Your Dark Chocolate Magic:
- Melt your dark chocolate and either pipe it on with a piping bag or let it drip from a fork held over each bunny. Thin whiskers and a little smile across the nose seal the personality—this is where your bunnies become real characters.
- Chill and Set:
- Refrigerate for 10 to 15 minutes until everything feels firm to the touch. Serve them chilled so the coatings hold their shape and everyone gets that satisfying bite.
 Pin It
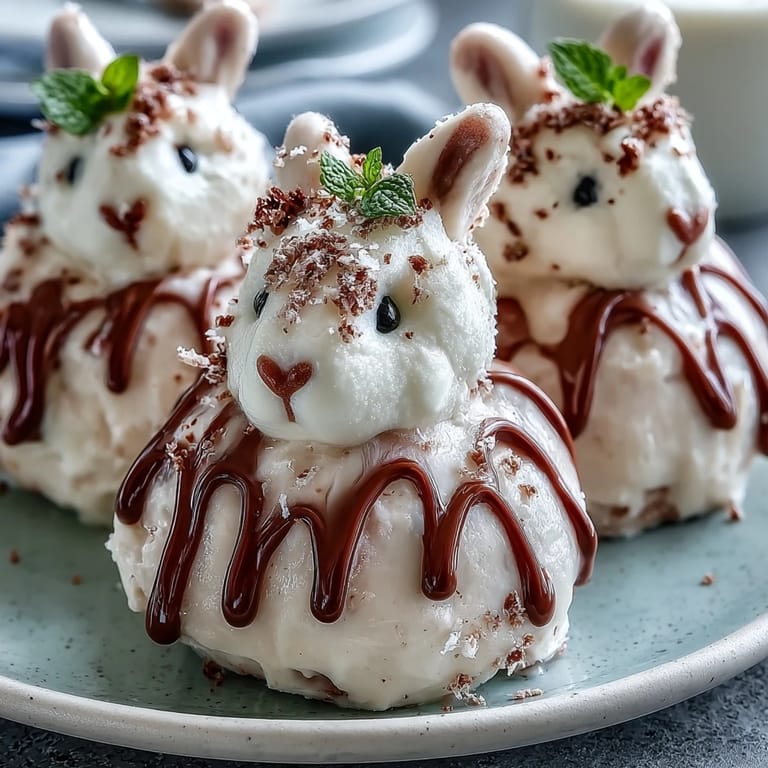
 There was that Easter when our three-year-old nephew asked if the bunnies were real before he ate one, then immediately declared them the best thing he'd ever tasted. Watching him choose a bunny, study its tiny face for a moment, and then happily devour it taught me something about cooking: the point isn't perfection, it's that moment when someone sees what you made and feels joy.
Timing and Make-Ahead Magic
You can absolutely make these the morning of your Easter celebration, which means less stress on the actual day. The bunnies keep beautifully in the refrigerator for up to two days in a sealed container, which is genuinely helpful when you're juggling ten other dishes and a full house of hungry people. Just let them sit at room temperature for five minutes before serving so the chocolate coating isn't rock-hard.
Customizing Your Bunnies
The beauty of this recipe is how flexible it is—your kitchen, your rules. Want chocolate bunnies instead of white chocolate ones? Use milk or dark chocolate for the base coat and adjust your decorations accordingly. Prefer a rainbow of colorful details? Swap the pink food gel for whatever hues feel festive to you, or use edible glitter mixed with a tiny bit of clear piping gel to make them shimmer.
The Little Things That Make Them Sing
The difference between cute bunnies and unforgettable ones often comes down to small touches that take seconds but feel intentional. A slightly crooked smile looks more character-filled than a perfect one, and when someone notices that you gave each bunny its own personality, it feels like you've made something they can't find anywhere else. That's the real magic—not perfection, but thoughtfulness showing through in a simple dessert.
- Let the marshmallow ears sit slightly asymmetrical for charm rather than manufacturing perfect symmetry.
- Use a mix of candy eyes and chocolate chips so no two bunnies look identical, which makes them feel handmade rather than manufactured.
- Keep a small bowl of melted white chocolate nearby to use as edible glue if any decoration feels loose, and nobody will know your secret.
 Pin It
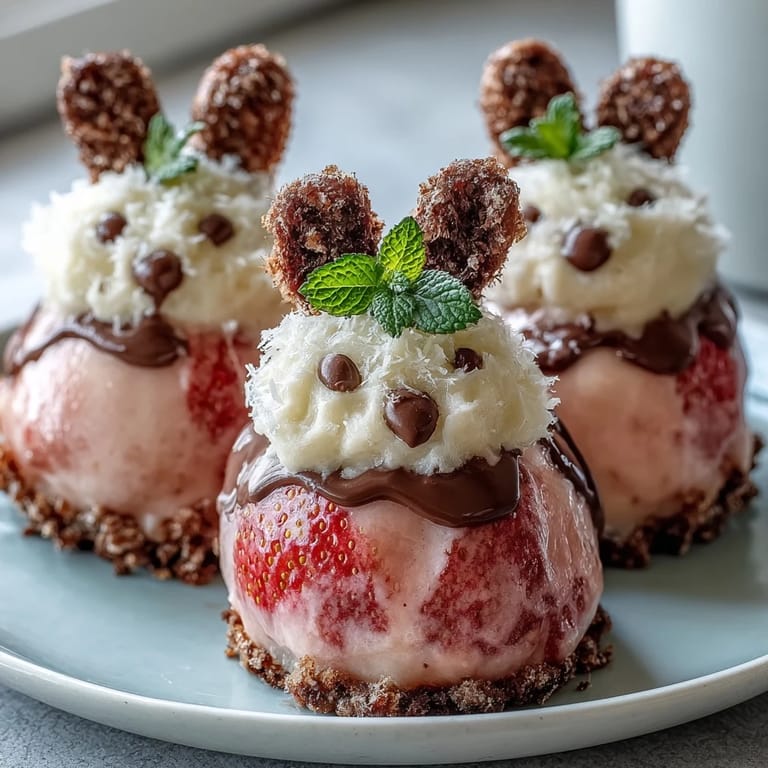
 These strawberry bunnies have become our Easter anchor, the thing everyone asks about before we even talk about the main course. They're proof that the simplest ideas, executed with a little creativity and care, become the memories that stick around long after the food is gone.