 Pin It
 My grandmother's kitchen smelled like burnt sugar and autumn when she made candy apples for the county fair. I was maybe seven, standing on a stool to peer into that bubbling red pot, mesmerized by how ordinary apples transformed into something that looked like jewelry. She'd let me hold the wooden sticks while she worked, teaching me without a lecture that good things require patience and a candy thermometer you actually trust. That first bite—the snap of the hard candy shell giving way to tart Granny Smith—made sense of why people lined up for her booth every year.
I made these for a Halloween party where someone's eight-year-old declared them better than trick-or-treating candy, and honestly, that compliment felt earned. The room went quiet except for the sound of people crunching through candy shells, and suddenly I understood why my grandmother cared so much about getting the temperature exactly right.
Ingredients
- Granny Smith or Gala apples (8 small to medium): Choose firm apples, never soft or bruised ones—they crack under the hot candy, and your coating slides right off. Gala apples are slightly sweeter, Granny Smiths more tart; pick based on your mood that day.
- Wooden sticks (8): Soak craft sticks in warm water for five minutes before inserting so they don't splinter when you push them into the stem end.
- Granulated sugar (2 cups): This is the foundation of your candy shell; don't substitute brown sugar or the color will be muddy.
- Light corn syrup (1/2 cup): This prevents crystallization and keeps your candy smooth and glossy instead of grainy and dull.
- Water (3/4 cup): Dissolved with sugar to create the base that becomes candy; measure precisely because too little burns, too much fails to harden.
- Red gel or liquid food coloring (1/2 tsp): Gel coloring produces a deeper, cleaner red than liquid, and you need less of it.
- Cream of tartar (1/8 tsp, optional): This ingredient is your secret weapon for preventing graininess; I don't skip it.
- White chocolate (3 oz), chopped or chips: Buy quality white chocolate or your drizzle will taste waxy and flat.
- Coconut oil or vegetable oil (1 tsp, optional): This makes the melted chocolate flow smoothly for drizzling without breaking the set candy underneath.
Tired of Takeout? 🥡
Get 10 meals you can make faster than delivery arrives. Seriously.
One email. No spam. Unsubscribe anytime.
Instructions
- Prepare your workspace and apples:
- Line a baking sheet with parchment paper and give it a light rub of oil so hot candy doesn't stick permanently. Pat each apple dry with a clean kitchen towel—any moisture will cause the candy to seize and become cloudy instead of that glossy red you want.
- Combine the candy mixture:
- Pour sugar, corn syrup, water, and cream of tartar into your heaviest saucepan and stir gently just until combined. This is the only time you stir; after this, resist the urge completely or you'll trigger crystallization.
- Heat without stirring:
- Set the pan over medium heat and clip your candy thermometer to the side so the bulb sits in the mixture without touching the bottom. Bring it to a boil and let it bubble away while you watch; this takes about eight minutes and feels longer than it is.
- Add color at the right moment:
- When the mixture hits 250°F, add your red coloring and tilt the pan side to side gently to swirl it in. The candy will darken as it continues cooking, so don't panic if the color looks pale at first.
- Reach hard-crack stage:
- Continue boiling until your thermometer reads exactly 300°F—this is critical because one degree matters here. At 300°F the candy becomes hard and glassy; pull it off heat immediately or it turns bitter.
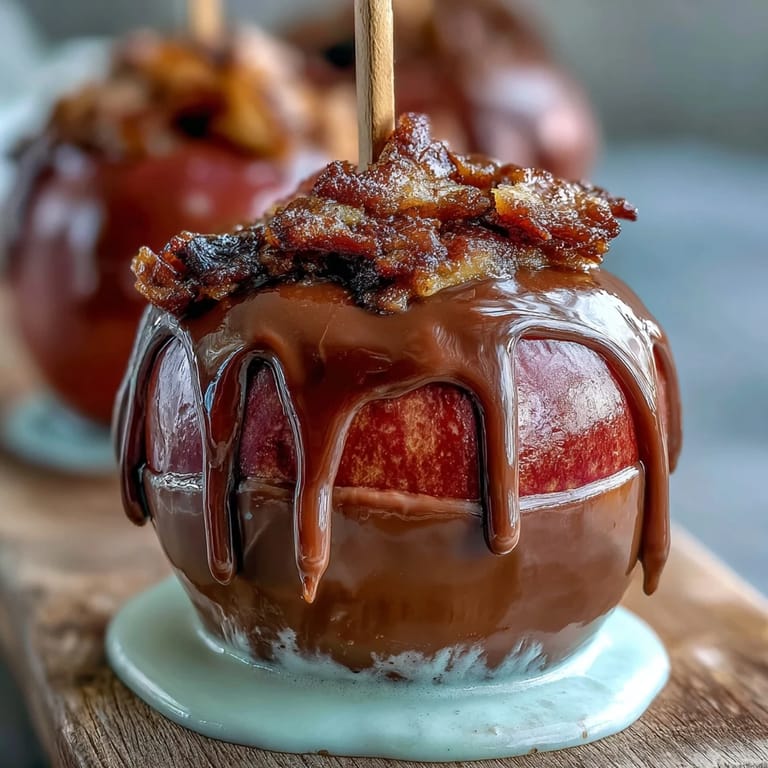
- Dip with confidence and speed:
- Working quickly, tilt the pan and submerge each apple, rotating it to coat all sides evenly, then lift and let excess drip back into the pot. Place each finished apple on the parchment sheet and don't move it until the coating sets—about ten minutes.
- Prepare the white chocolate drizzle:
- Chop your white chocolate into small pieces and place in a microwave-safe bowl with coconut oil. Microwave in 20-second bursts, stirring between each pulse, until smooth and pourable but not separated.
- Finish with white chocolate:
- Spoon or pour the white chocolate over cooled candy apples in thin, artistic lines, or use a piping bag for precision. Let this set for ten minutes before eating or wrapping.
 Pin It
 The first time I made these alone, I miscalculated the heating and pulled the candy at 295°F, which meant soft, chewy apples instead of that satisfying crack. It taught me that precision isn't pedantic—it's the thing that separates a kitchen triumph from a sticky disappointment.
Choosing Your Apples
Firmness is everything because soft apples release moisture that the hot candy can't stick to properly. I learned this by choosing beautiful heirloom apples from a farmers market only to watch the coating slide off like the apple was sweating through anxiety. Now I always gently squeeze each apple to confirm it resists pressure, and I buy them a day before making candy apples so they're never picked-this-morning tender.
The Thermometer Question
My first candy thermometer was cheap and wildly inaccurate—it turned my 300°F batch into 280°F, which meant apples that were stickier than I wanted. Investing in a decent thermometer (even a ten-dollar upgrade) changed everything because the numbers became reliable. If you only own one kitchen tool that costs more than five dollars, make it a good candy thermometer.
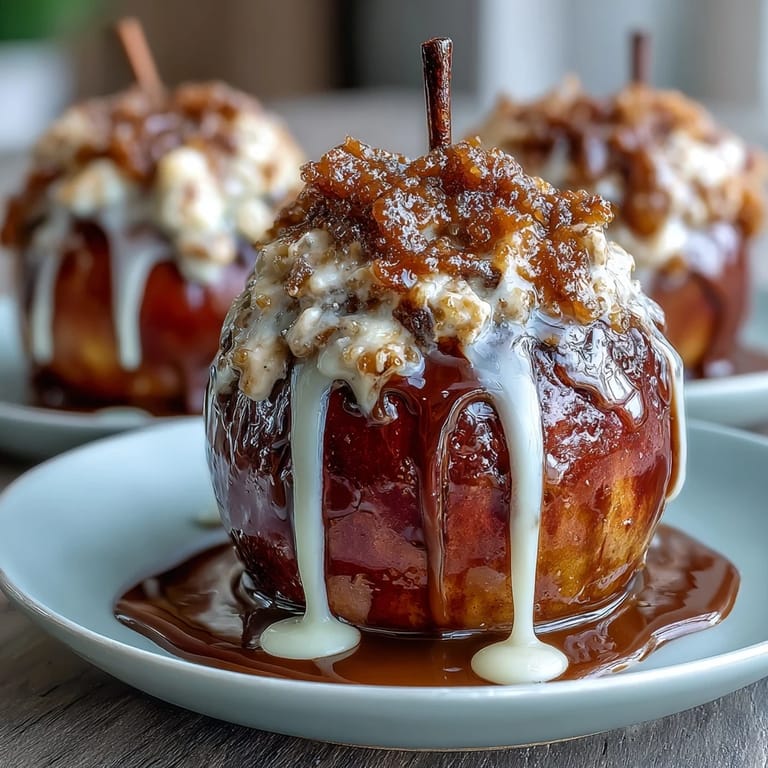
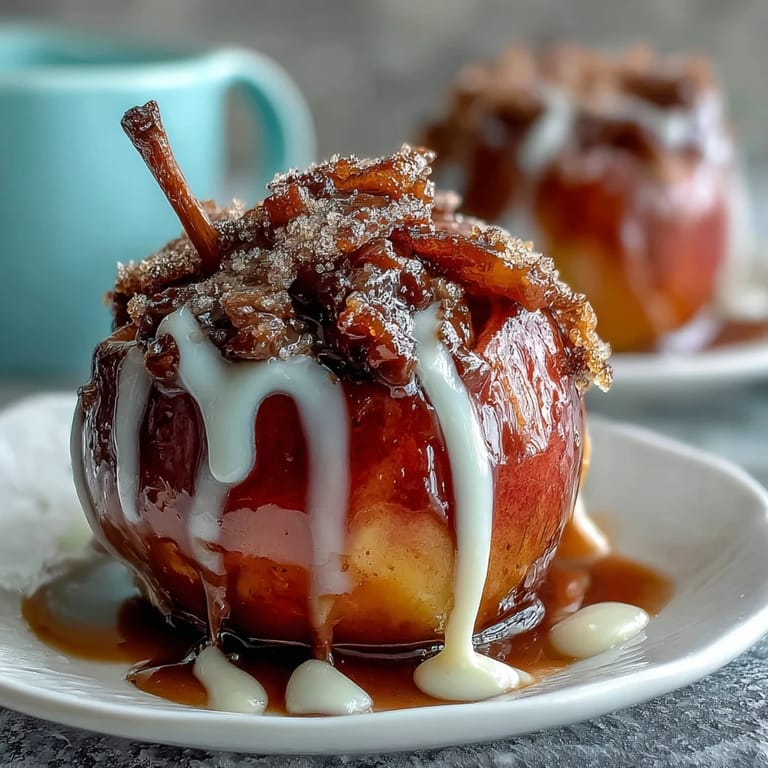
Decoration Ideas and Final Tips
Before the candy sets completely, you can roll apples in crushed nuts, sprinkles, or toasted coconut for texture and visual interest. I once sprinkled edible gold dust over white chocolate while it was still wet, which sounds fancy but tastes like nothing—don't bother trying to make them look expensive. The beauty is already in the glossy red shell and the delicate white drizzle.
- Keep finished candy apples away from humidity because moisture makes the coating sweat and become tacky.
- Wrap each apple loosely in cellophane if storing, and eat within two days for the best candy snap.
- If you're bringing these to a gathering, transport them in a flat box rather than stacked so the coating doesn't crack under its own weight.
 Pin It
 Candy apples are one of those treats that remind you why cooking matters—they're the opposite of convenient, but they're unforgettable. Make them once and you'll understand why they've stayed popular since carnivals and county fairs first existed.
Recipe FAQs
- → What type of apples work best?
Firm and tart apples like Granny Smith or Gala hold up well and provide a nice balance of tartness to the sweet candy coating.
- → How do I ensure the candy coating sets properly?
Make sure apples are thoroughly dried before dipping and allow the candy to cool undisturbed on parchment paper to form a crisp shell.
- → Can I use alternatives to white chocolate for the drizzle?
Yes, melted vegan white chocolate or colored candy melts can be used to customize flavor and appearance.
- → What is the purpose of cream of tartar in the candy coating?
Cream of tartar helps prevent sugar crystallization, resulting in a smooth, shiny candy shell.
- → How long does the candy coating stay fresh?
When stored in a cool, dry place, the candy shell remains crisp for up to 2 days before moisture softens it.