 Pin It
 It was a Wednesday night when I discovered that a mug could hold an entire dessert. I'd been craving something sweet but couldn't justify heating the oven for myself, so I started throwing ingredients into a coffee mug like it was an experiment. Sixty seconds in the microwave later, I had warm, fluffy peanut butter cake that tasted nothing like a shortcut. Now, whenever I need an instant pick-me-up, this is my go-to ritual.
I made this for my friend Emma when she stopped by unexpectedly on a rainy afternoon. She was skeptical about microwave desserts until she took the first bite and just sat there, fork in hand, savoring it in silence. That quiet moment of her enjoying something I'd made in literally two minutes felt like a small kitchen victory.
Ingredients
- Creamy peanut butter: Two tablespoons gives that rich, unmistakable flavor without overwhelming the cake.
- Unsalted butter, melted: Adds moisture and helps the batter come together smoothly.
- Large egg: The binding agent that makes this actually rise and feel like real cake.
- Milk: Keeps things tender; dairy or non-dairy both work beautifully.
- Vanilla extract: A half teaspoon rounds out the sweetness with depth.
- All-purpose flour: Three tablespoons is the sweet spot for structure without density.
- Granulated sugar: Two tablespoons balances the peanut butter and adds lift.
- Baking powder: Just a quarter teaspoon ensures that fluffy texture that makes people say it can't be microwaved.
- Salt: A pinch heightens the peanut butter flavor in a way most people can't quite name.
Tired of Takeout? 🥡
Get 10 meals you can make faster than delivery arrives. Seriously.
One email. No spam. Unsubscribe anytime.
Instructions
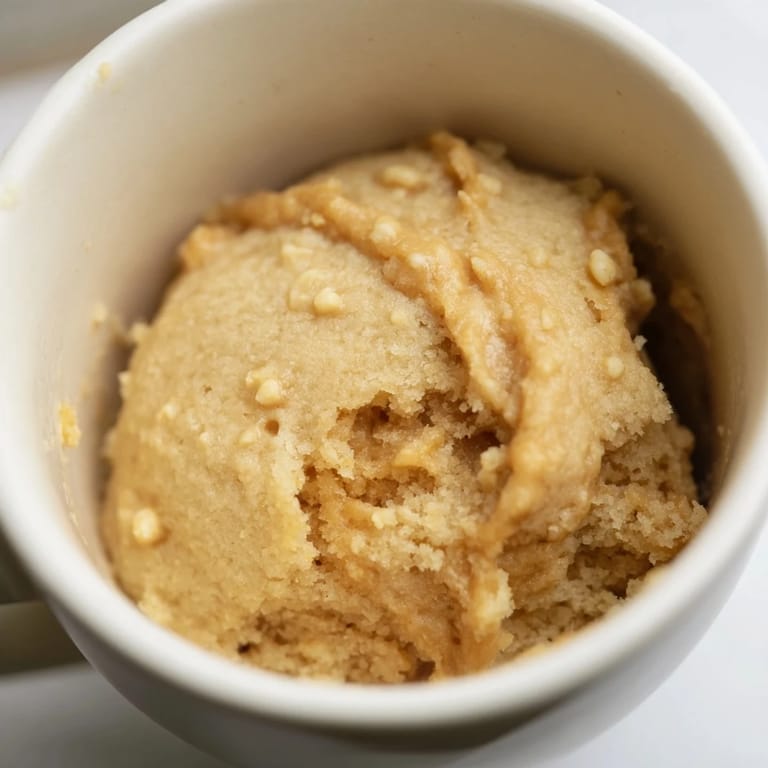
- Combine the base:
- In your microwave-safe mug, blend the peanut butter and melted butter until smooth. This takes about thirty seconds of stirring and ensures no clumps hide in the final bite.
- Build the batter:
- Crack in the egg, pour in the milk and vanilla, then whisk with a fork until everything looks homogeneous. You'll feel the batter thicken slightly as the egg incorporates.
- Add the dry mix:
- Sprinkle in the flour, sugar, baking powder, and salt, then stir gently until just combined. The moment it looks like cake batter, stop—overmixing makes it tough, and we're after tender here.
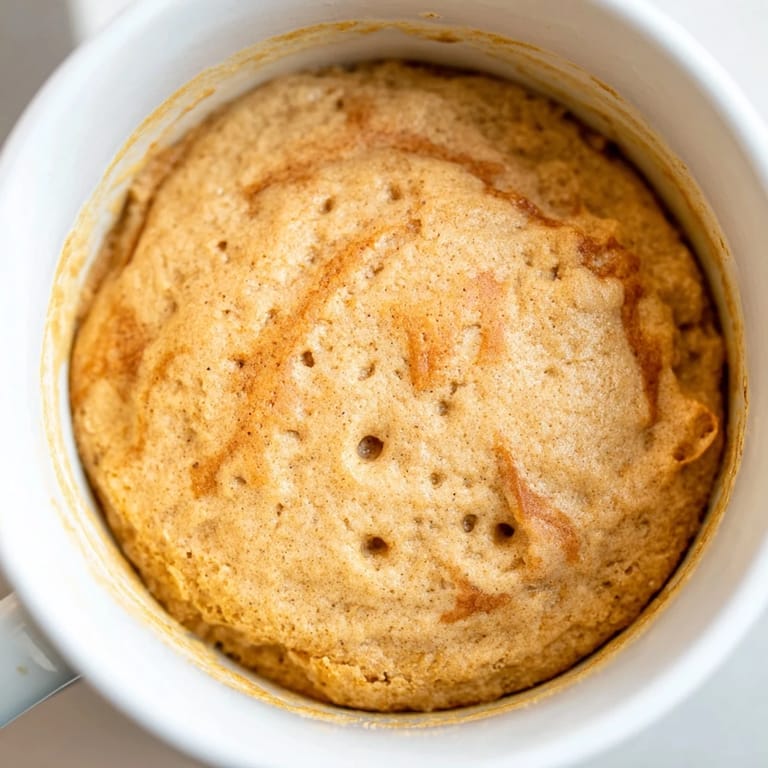
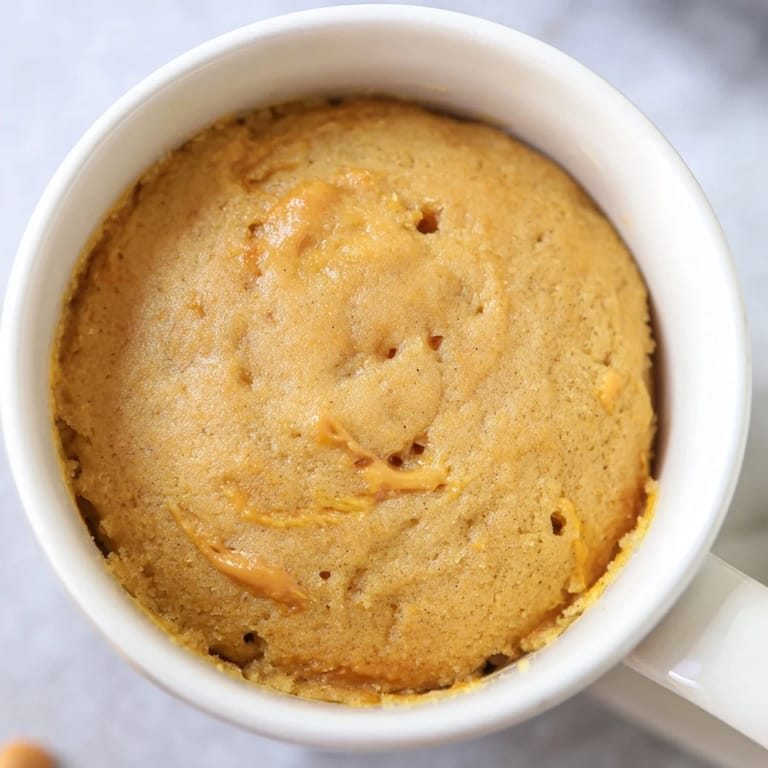
- The microwave moment:
- Set the microwave to high and press the button for sixty to seventy-five seconds. You'll watch it rise up the sides of the mug like a little cake volcano, and that's the sign it's working.
- Rest and enjoy:
- Let it sit for a minute or two so the center firms up, then eat it straight from the mug with a spoon or fork.
 Pin It
 My roommate in college used to make these at midnight before exams, claiming the peanut butter helped her think. I never believed the science, but I believed that it made studying feel a little less lonely and a little more intentional.
Why This Works as a Solo Dessert
There's something liberating about making dessert just for yourself without guilt or waste. This recipe proves that a three-minute indulgence can taste as good as something you've planned for hours. It's the kind of treat that doesn't require an occasion, just an appetite and a mug.
Making It Your Own
The beauty of this mug cake is how forgiving it is when you want to experiment. I've melted chocolate chips into the batter, swirled in a spoonful of honey, and even crumbled a cookie on top halfway through microwaving. The cake's personality changes with whatever you add, but the base always delivers.
The Microwave Method Explained
Microwaves heat food differently than ovens, which is why this works so fast and so well. The rapid, direct heat causes the egg and flour to set quickly while steam from the milk creates lift and fluffiness. It's less about luck and more about understanding the tool you're using.
- A twelve-ounce mug gives the cake room to rise without spilling over the rim.
- High power is non-negotiable—lower settings make it cook unevenly and stay gummy.
- The cake continues cooking slightly after you remove it, so pulling it out when the very center still looks barely set is the secret to avoiding dryness.
 Pin It
 This mug cake has become my answer to the question of instant gratification done right. In three minutes, you're holding something warm and real that tastes like care, even if it only took a fork and a mug to make.
Recipe FAQs
- → Can I use dairy-free milk for this dessert?
Yes, almond, oat, or other non-dairy milks work well without compromising flavor or texture.
- → What is the best way to avoid overcooking?
Microwave for 60–75 seconds and stop as soon as the cake has risen and the center is set to prevent dryness.
- → Can I substitute natural peanut butter?
Using natural peanut butter provides a richer, less sweet flavor that complements the cake nicely.
- → Are there alternatives to all-purpose flour?
For gluten-free options, replace all-purpose flour with a 1:1 gluten-free flour blend without altering the texture significantly.
- → How can I enhance the cake's flavor?
Adding toppings like chocolate chips, a drizzle of honey, or a scoop of ice cream adds extra indulgence and layers of taste.